In free-style scale model prototyping one can daydream into that microcosm, where you can do miraculous pointy-headed things you could never do in full size reality. A good example for this is to use air balloons from the jamboree store to level and balance the shiplet's position and mass distribution inside the tubular ballast tanks. There are good reasons for it, of course, but it turns out, it can become a challenging nightmare - not only when changing the tanks diameter.
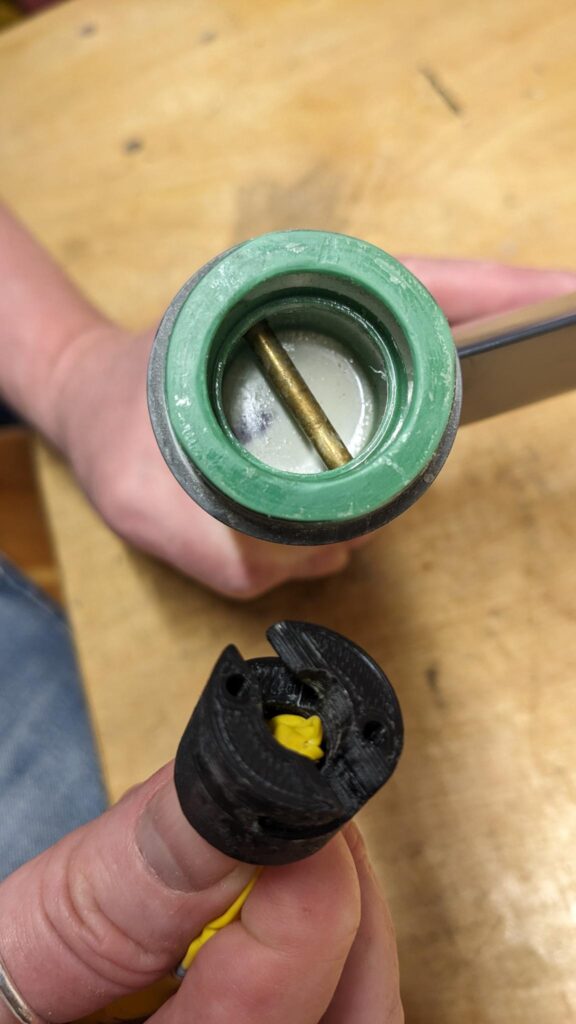
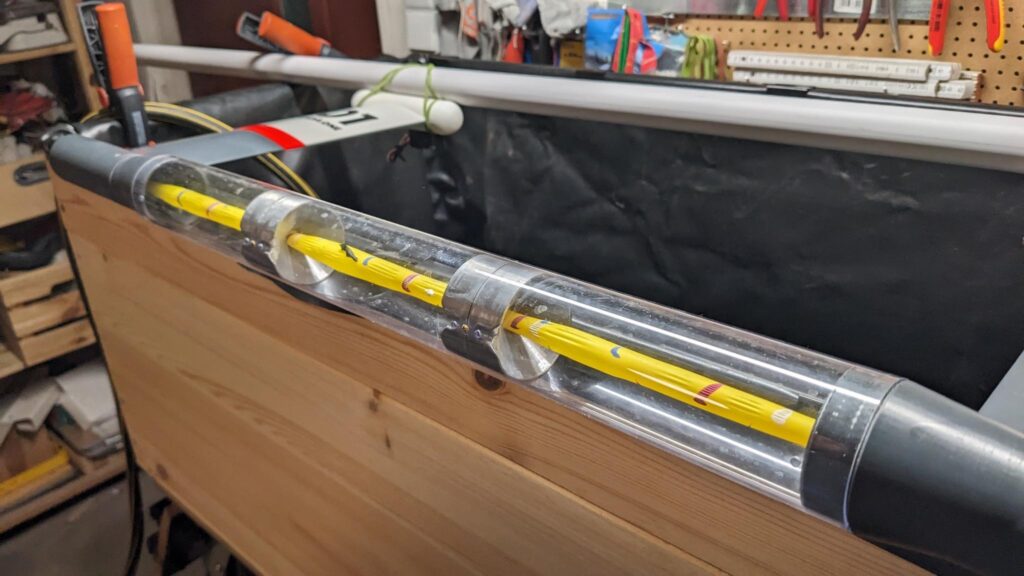
When we started prototyping the shiplet with its side gated ballast tanks, we used inexpensive grey colored 40 mm high-temperature resistant plastic effluent tubes from the plumbing store. Plus we had a bunch of small second hand vacuum pumps that could be of use. Since the pumps were designed to pump air, we had to find a good way to separate the water from the air inside the tanks by a membrane. By chance the default modelling balloons used for balloon twisting make a perfect fit and inflate at optimal size inside these tubes. Plus they are easy to fix at the silicon hose. We found what we need. Problem solved. But as we progressed with the development, it turned out that the shiplet's next iteration would grow in weight and need more buoyancy, resulting in a larger diameter for the ballast tanks. At the same time we thought it might be useful to actually see how the balloons inflate and deflate inside the tubes, which prompted us to use 50 mm clear-transparent polycarbonate tubes instead. To better control the air and water flow inside each tank and to avoid sloshing, we add two separators to split the tube in three chambers. The result looked very promising, but we were overlooking a blasting detail:
The diameter of the larger transparent tubes is just a little bit too large for the modelling balloons, so that their overexpansion ends with a reproducible booming blast. Too bad, but no problem, we thought. Let's just find a different brand which is just a little bit bigger. However, far from it! As an amateur balloon user their variations in colors and shapes may look sheer endlessly. But it turns out that the globalized production of modelling balloons led to a quasi standardization which is just a little bit to small to serve the admittedly anomalous purpose. Well, let's find other balloons then! Since the internet let's us shop at global scale, there must be one size of balloon out there, which is just the one we need. To make that really long story short, at some point we were happy to find the so called rocket balloons - finally upgrading our amateur prototyping project to real rocket science.

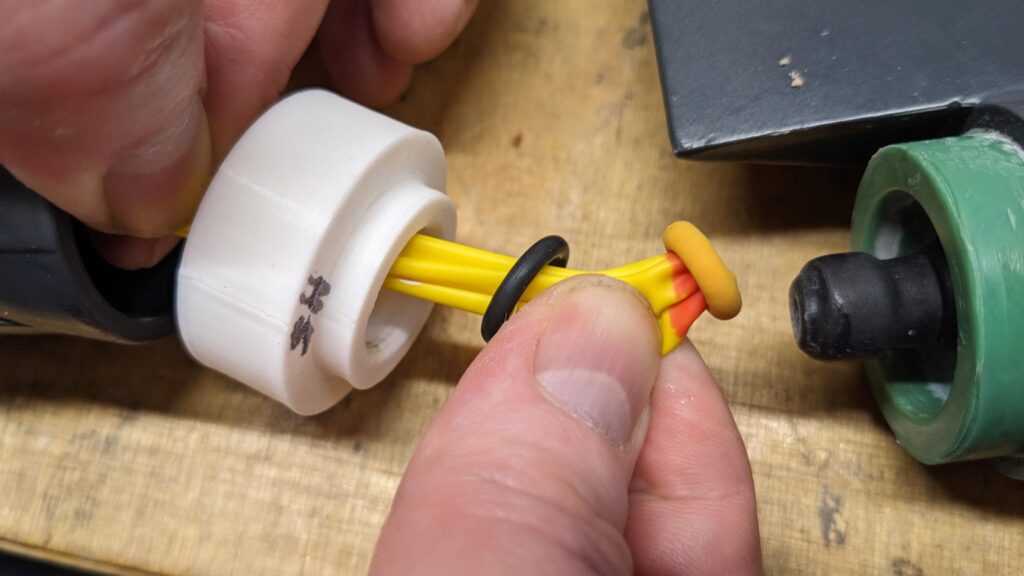
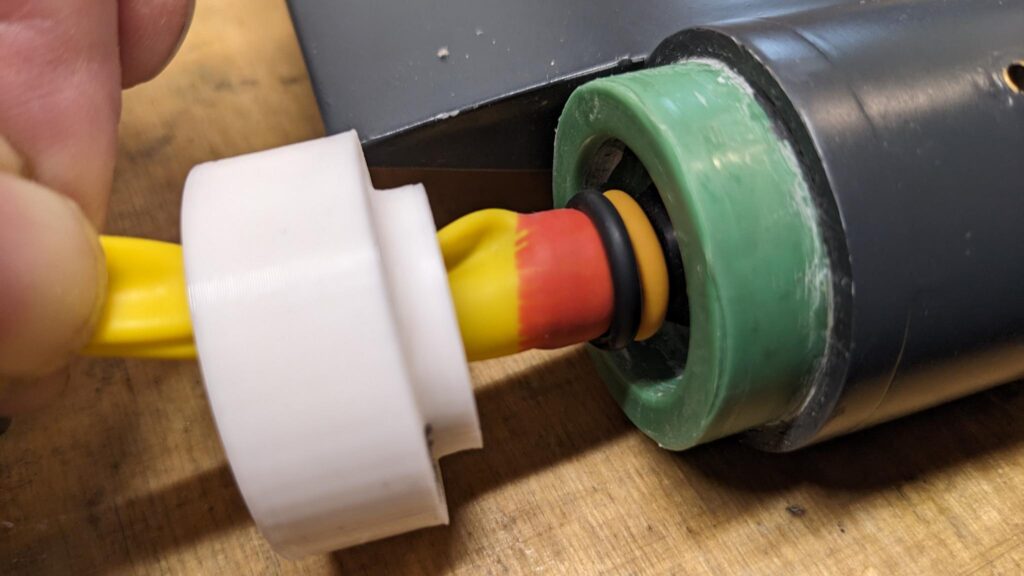
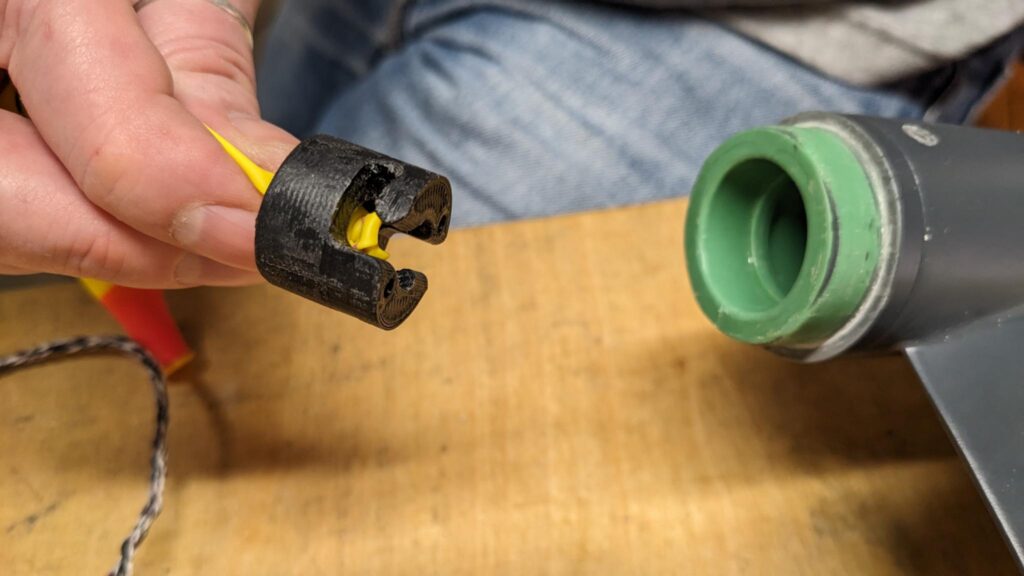
Besides the perfect diameter and the colorful pattern the trained eye immediately spots the ridge-less nozzle of the rocket balloon which requires a 0,5-1 cm curtailment, manual furling and some extra effort for a perfect fitting at the pipe connection. It is highly recommended to stretch the balloon about 20 to 30 times before mounting it.

Length matters!
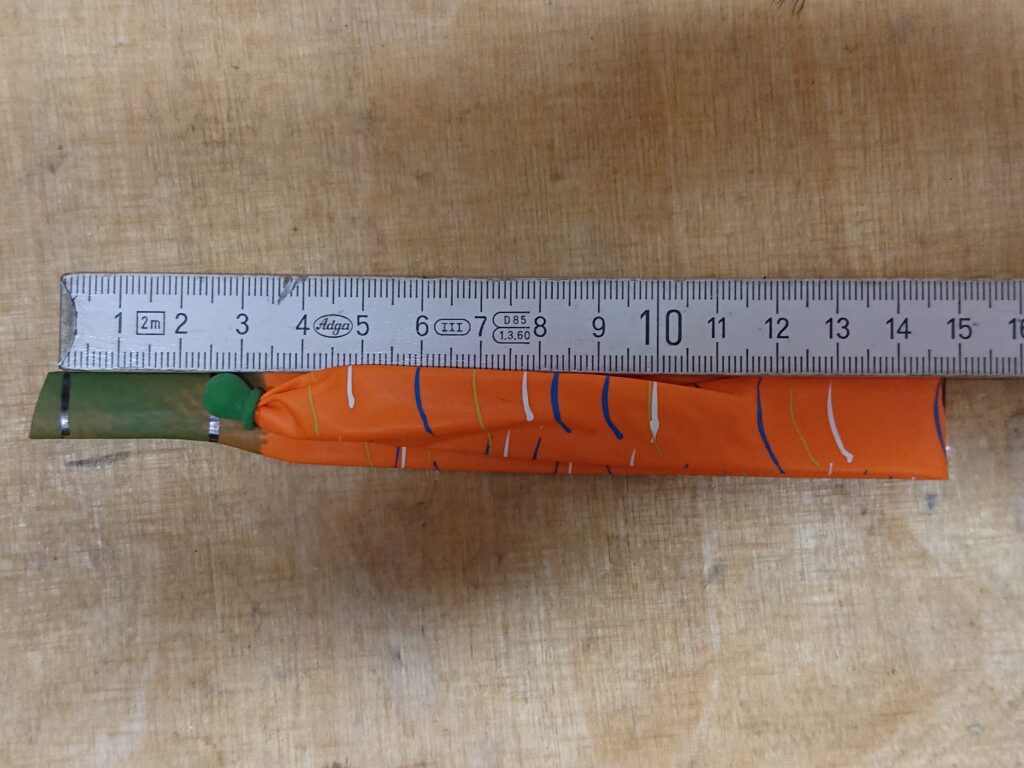
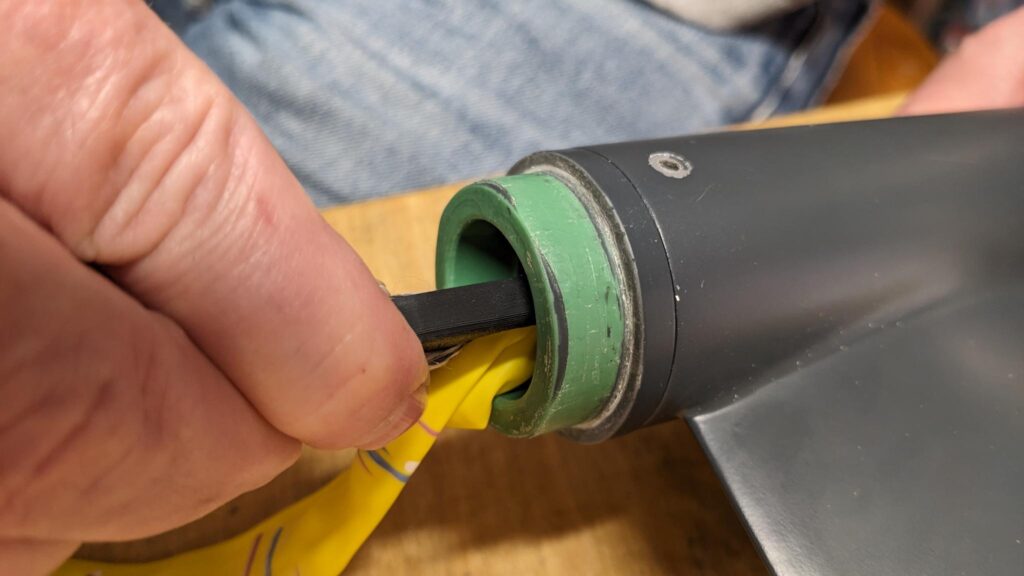
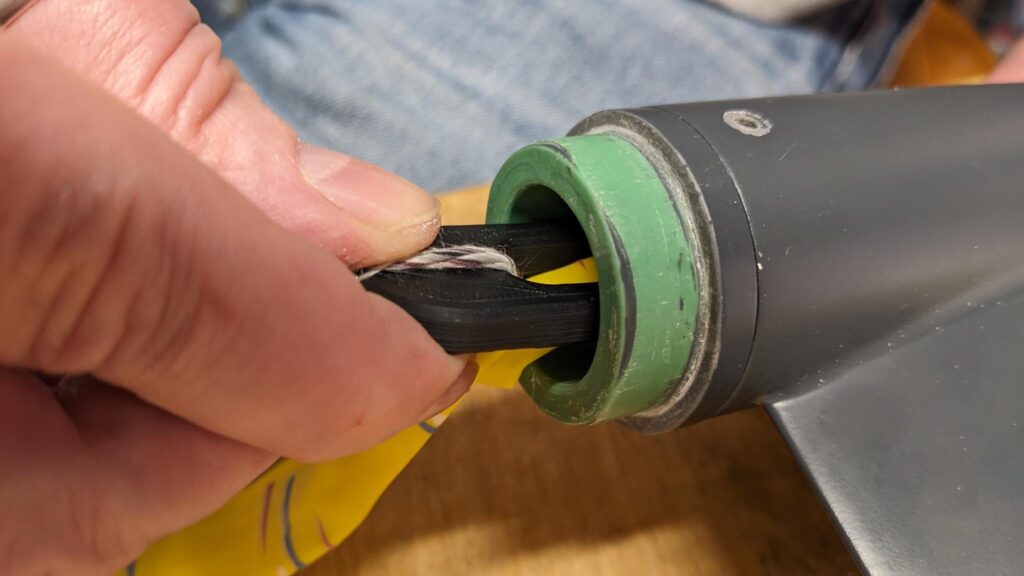
Before fixing the other end of the balloon with a bayonet mount, we have to shorten it. When inflating the balloon it enlarges equally in length and diameter until it hits the inner surface of the surrounding tube. By pre-stressing the balloon we want to make sure, that it does not buckle. At the same time the extension must not be too tight, since then the balloon will blast before reaching the fully fitting filling. As a rule of thumb the knot at its end should be made 1 to 2 cm behind the folded middle of the original rocket balloon. But hey, their length varies a lot from each charge. So sticking to the folding rule makes more sense.
Final Fit
After altering and testing many parameters, we finally managed to make the rocket balloon fit perfectly into the tubular ballast tank.
![]()